This is part of a series of several posts. “Tiling the bathroom” turned out to be a quite complex thing to do, and we did several things at once, so the information and progress is spread out throughout the following posts:
Surface preparation
Tiling the floor 1, 2
Tiling the walls 1, 2
So. On to surface preparation. Floor:
 |
| Ditra mat |
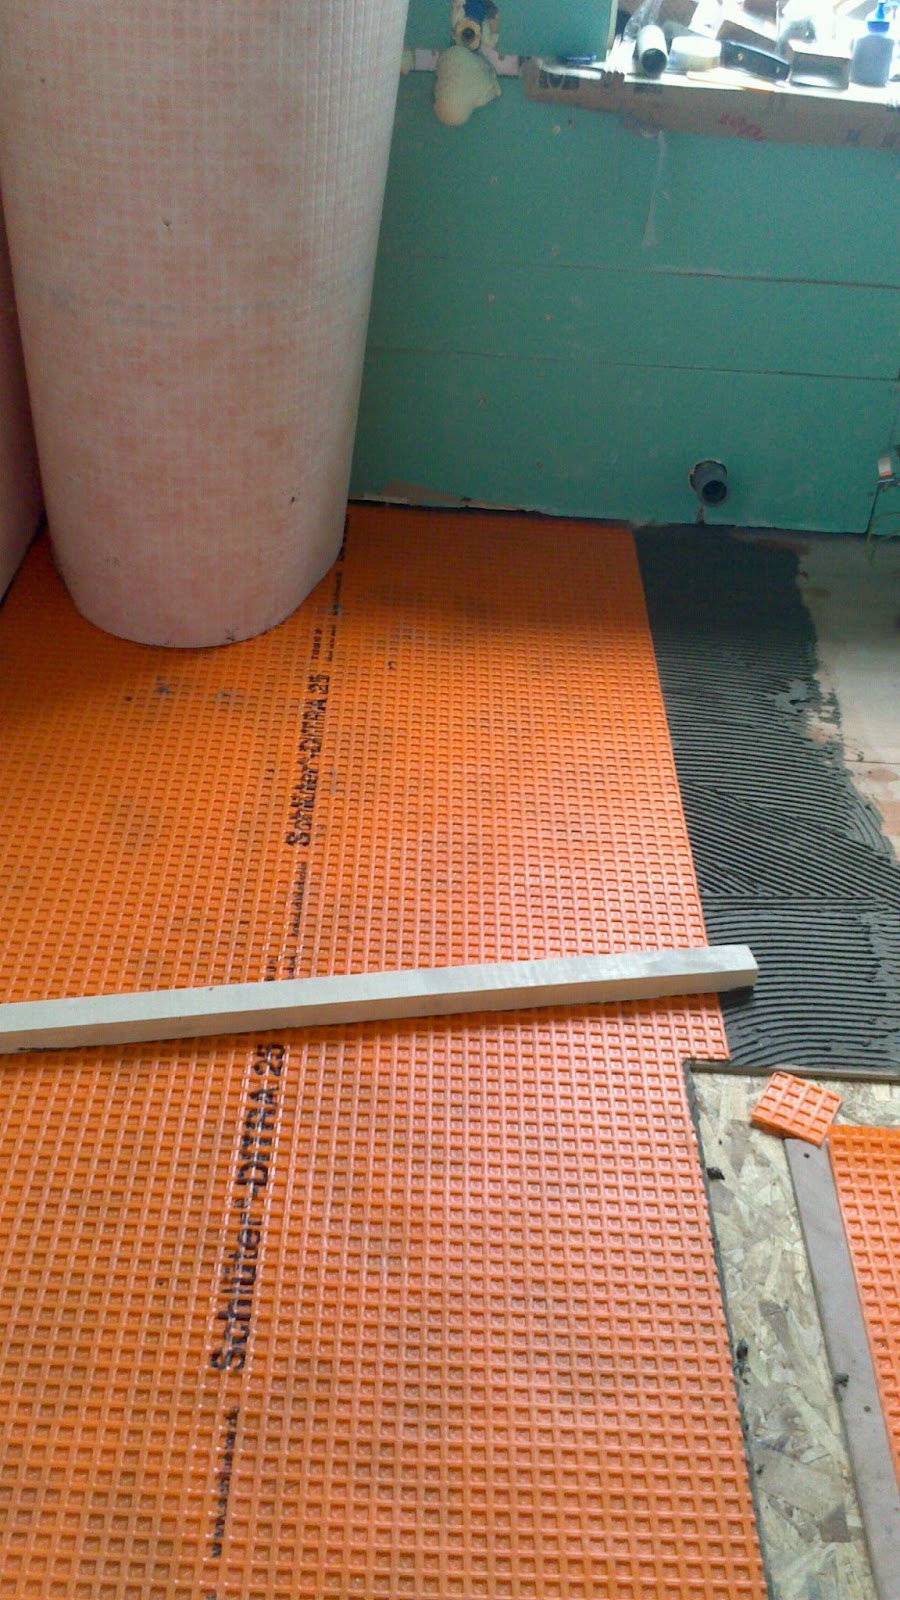
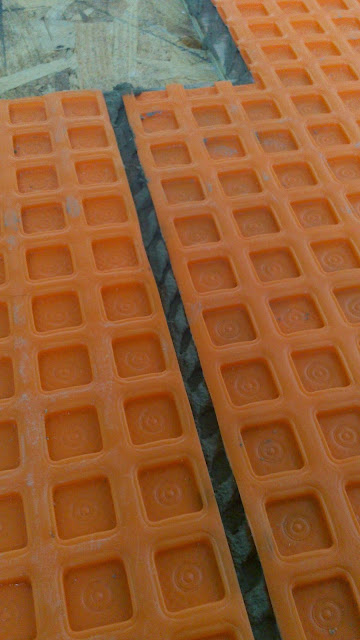
Once the floor was consolidated and there was a surface to work on, we could simply have tiled directly on top. It appears it is possible to tile right over the more waterproof kinds of multiplex, or even OSB board. However, even though the floor is now much stronger and less flexible, it is not completely rigid, so we decided to also add a decoupling mat (Schlüter-Ditra) between surface and tiles to avoid cracks due to movement later down the road. It’ll also add somewhat to the waterproofness.
 |
| 6 mm notched troweling of thinset |
We “glued” the mat to the surface using flexible tile thinset / glue cement/mortar stuff. We used a 6 mm notched trowel. We put the mat all over the floor, except the recessed inset for thicker tiles, where we applied it in thin strips. So there was a single layer all over and the exact depth of the inset was preserved. The edges of the inset will just get the thinset.
Walls:
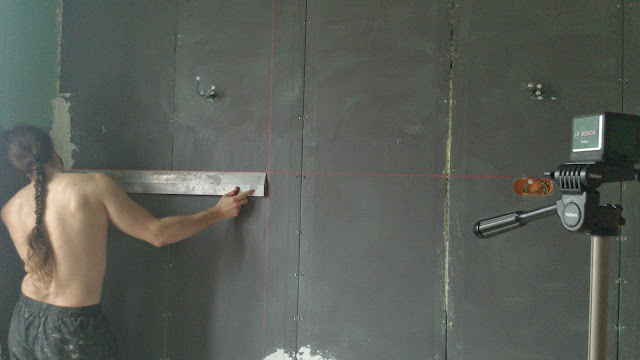
On surfaces that needed to be tiled over, which were all rather porous (either regular plaster or water-resistant plasterboard), we applied a primer especially formulated for this purpose. (Mapei?). The stuff is relatively difficult to apply, I couldn’t use a roller as recommended in the store (it dripped all over but applied next to no primer to the wall), but had to use a wide, thick paintbrush. This still dripped a bit, but was very manageable. Both roller, paintbrush and paint tray were ruined after use (as expected). I doubted I would be able to wash off the sandy mixture, and wasn’t sure if the stuff is water or oil based (it did not smell strongly at all, though). Not worth the mess, and hands possibly “exfoliated" down to a pulp.
 |
| Primed walls |
The surface became extremely rough and tough, like sandpaper. Seems very good. The tiling we’ve done so far has worked very well over it: the thinset stayed workable for hours since the wall did not absorb the water off it. The tiles are very securely attached to the wall. So far so good.
Shower:
Over the primer I just mentioned, we waterproofed the shower “cabin” (rather a corner) with a membrane. This is supposed to be water and vapour proof (Schlüter-Kerdi). We glued it to the wall with flexible, no-slide wall tile thinset. We started using the same 6 mm notched trowel, but found this was way too bulky, and switched to 4 mm. We overlapped each strip 5 cm, using the brand’s two component glue on the overlap (and all other overlaps).


The strip just before the niche overlapped the niche itself for as much as the depth of the niche, and we made a couple of cuts to wrap the excess inside. Just over the shower niche, we used a strip of the same width than the niche, and wrapped it over the top, back, and bottom of the recess. The next strip also overlapped the edge of the niche in the same way.
The niche is then completely covered now, but we decided to use Schlüter’s premade, seamless corners on top of these layers (perhaps we’ll have to remove some bulk first) to be extra safe.
We laid the Kerdi mat a few centimetres further than where the shower tray will be on either side, about 10 cm past the side where there'll be glass, and 20 cm past the "walk in" (step in?) entrance. The membrane goes few centimetres higher than the glass and showerhead will be, and also overlaps somewhat over the Ditra mat on the floor.